This guide is the starting point for anyone administering a FlexiSurvey workspace. It walks through creating your account, structuring your work into projects, inviting teammates, assigning the right roles, and managing your subscription and seats — everything an NGO, research team, or M&E unit needs to stand up a workspace and bring people on board.
If you want the fastest tour of the admin area, follow the Quickstart below; the sections after it explain each part in depth.
Quickstart: Administer your workspace
Follow these steps in the product:
This guide covers running your FlexiSurvey workspace as an administrator — managing your team, inviting new people, assigning roles, and managing your plan and seats.
1. Manage your team
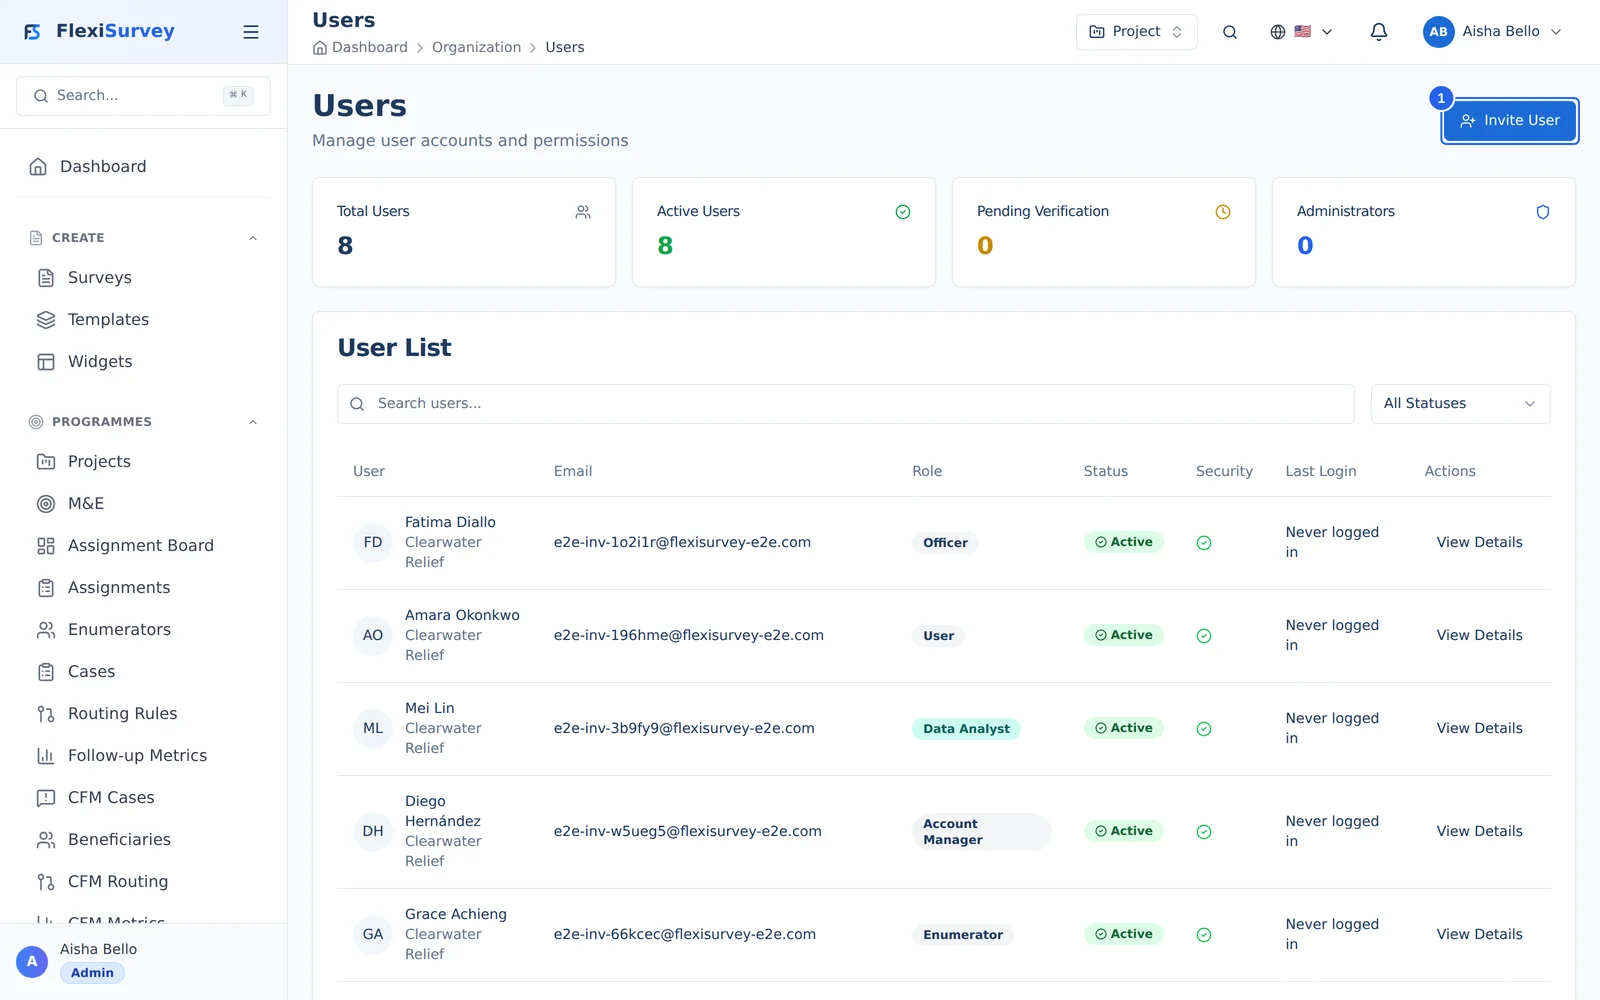
The Users area lists everyone in your workspace with their role, status, and security details. From here you can review members, open a profile, or invite someone new.
2. Invite a teammate
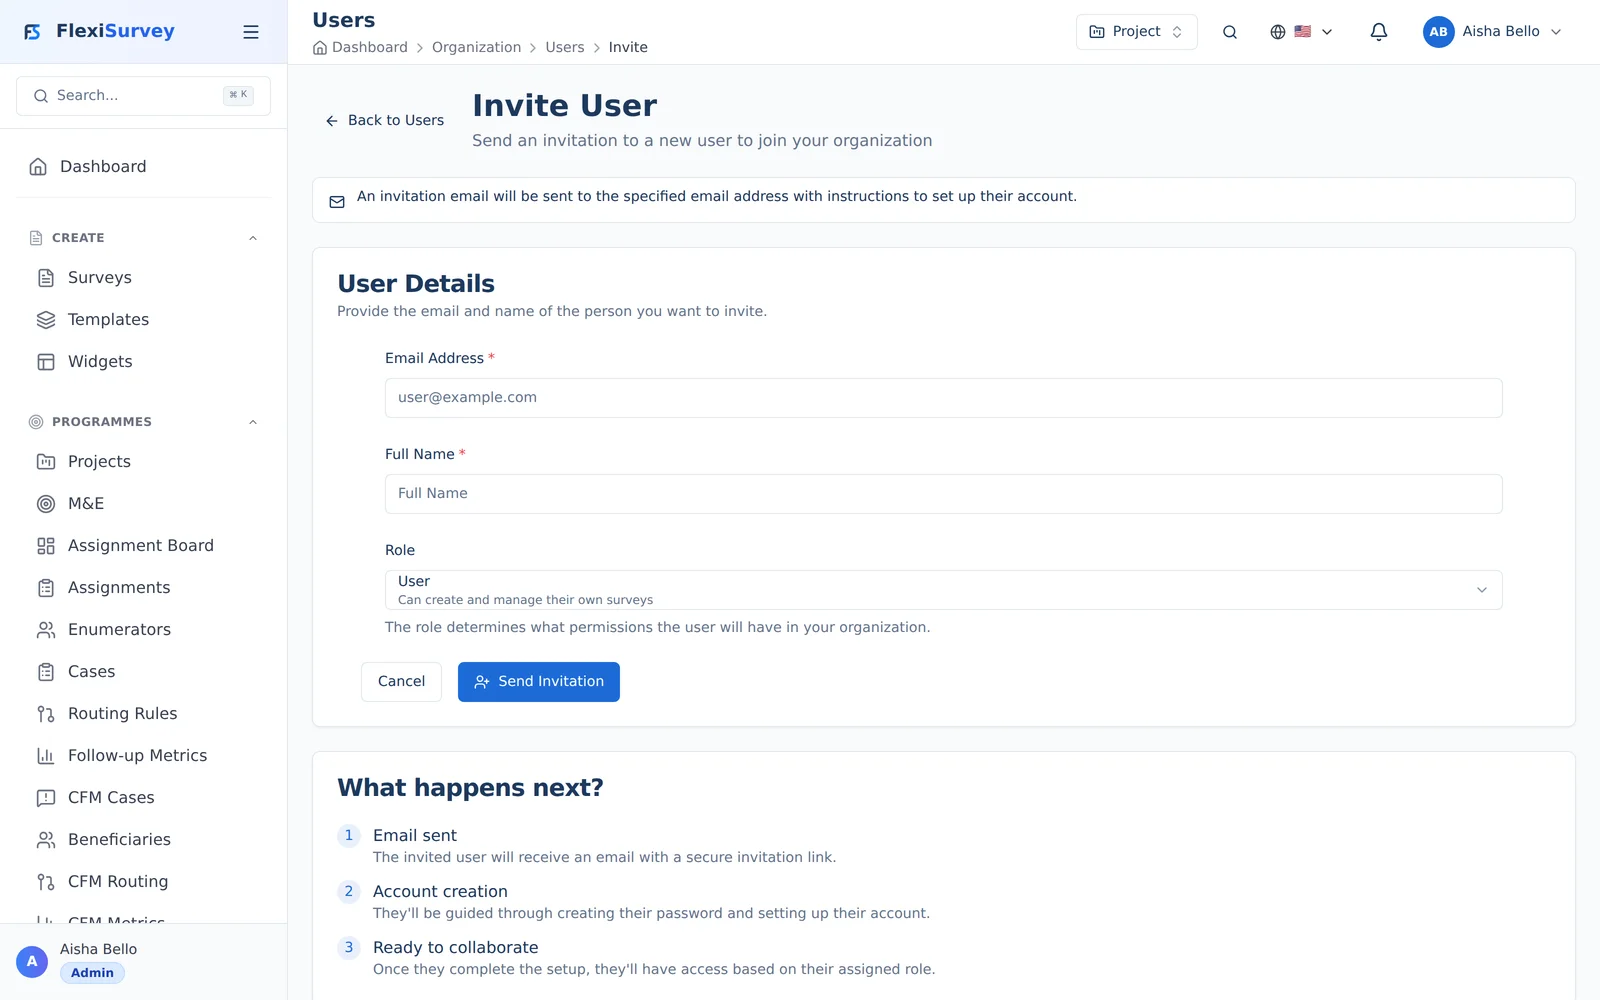
Inviting a teammate takes just their email, a name, and a role. They receive an invitation and join your workspace with exactly the permissions that role grants.
3. Assign roles
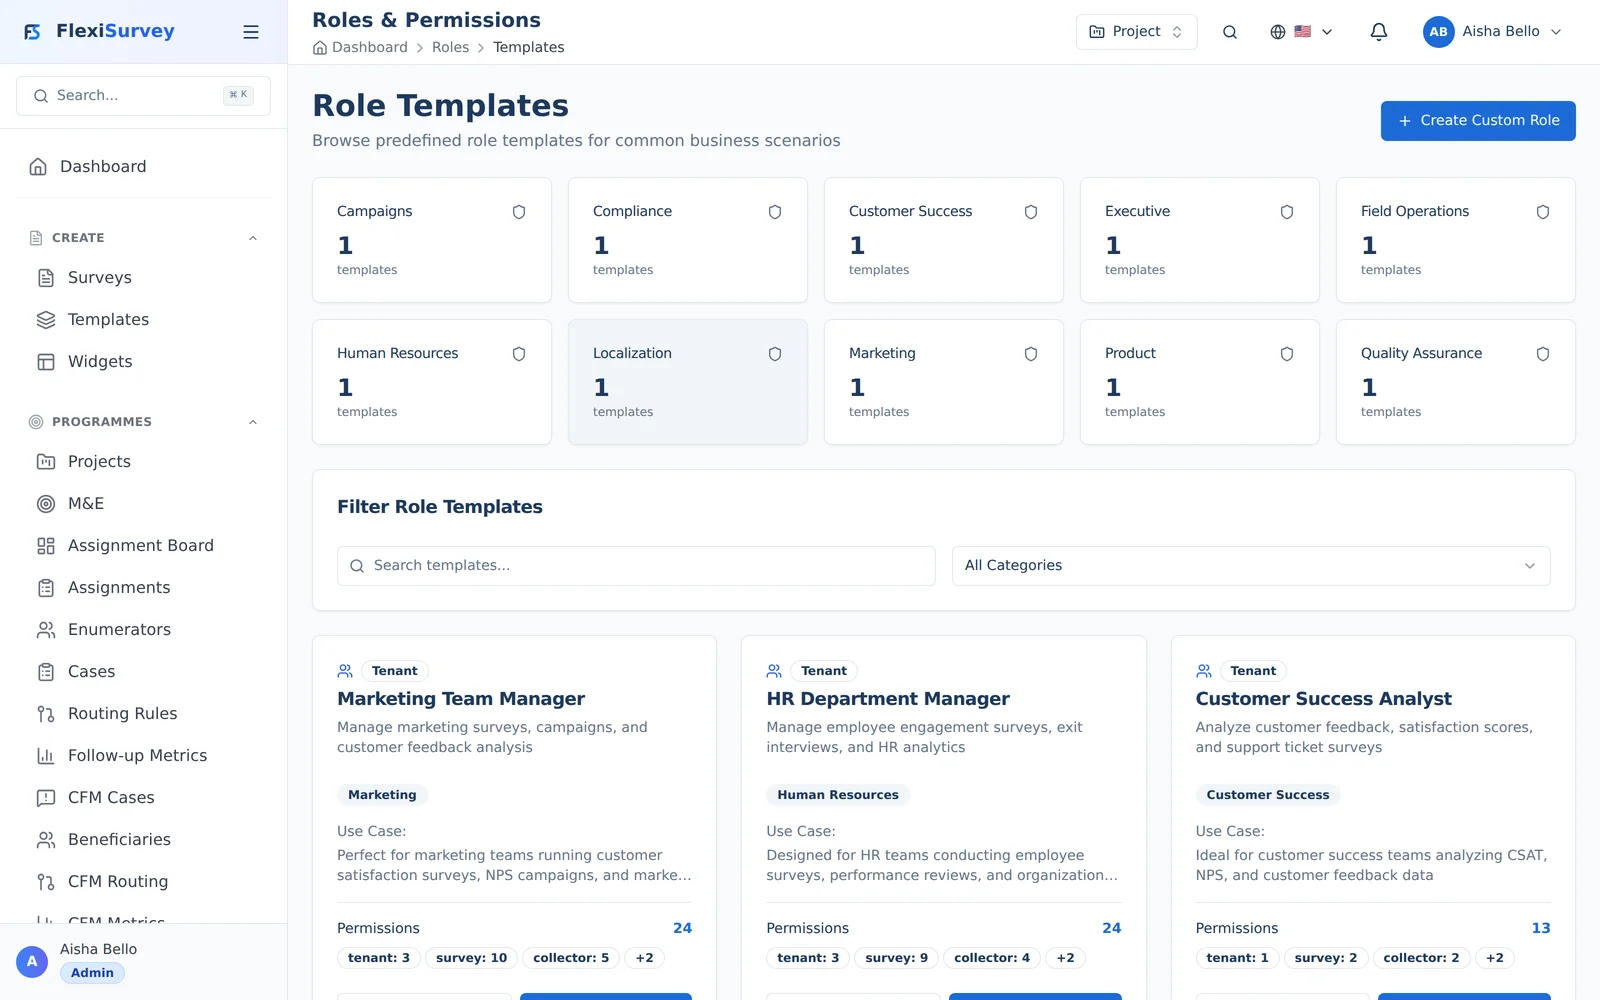
FlexiSurvey ships with a full set of role templates across platform, tenant, survey, group, and API levels. Assign the right template to each person so they see only what they should — least privilege by default.
4. Manage plan and seats
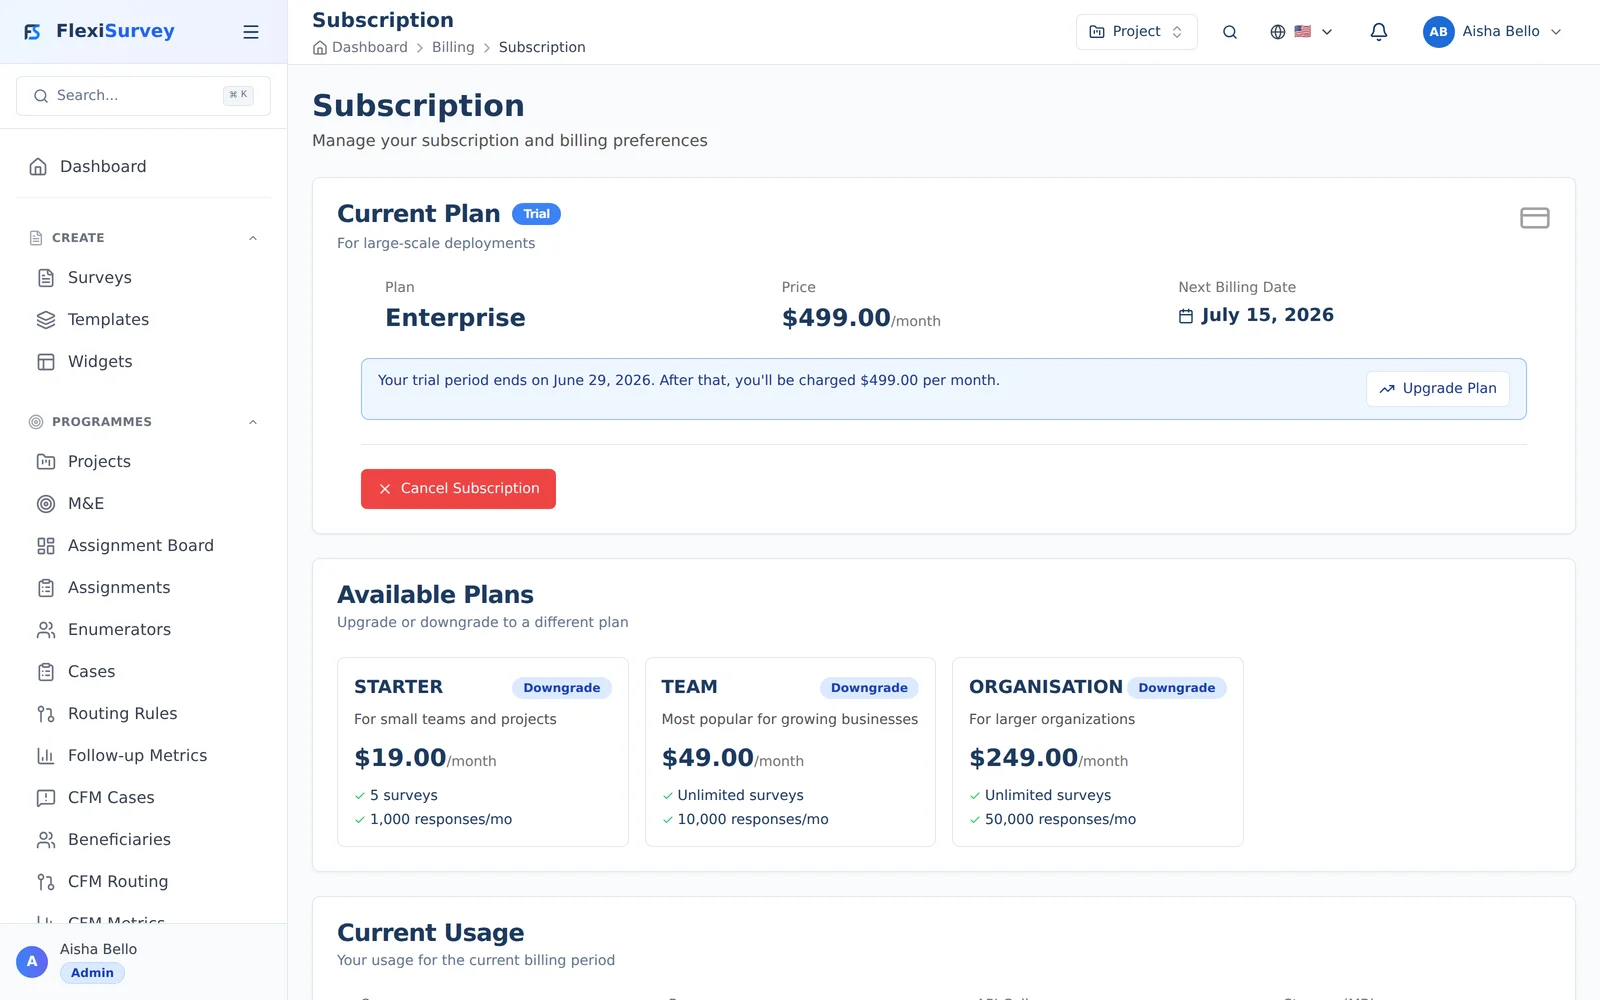
The subscription area shows your current plan, usage against your limits, and seat management. Add or remove seats as your team grows, and upgrade or downgrade your plan at any time.
Creating your workspace
When you sign up, FlexiSurvey creates a private workspace (your organisation's tenant) and makes you its first Tenant Admin. Your workspace is fully isolated — no other organisation can see your surveys, respondents, or results. You can start a 14-day free trial of any self-serve plan (30 days on Enterprise) without entering a card.
After signing up you'll have a default project ready to go, so you can build your first survey straight away and come back to set up your team later.
Organising work into projects
A project is the container for everything that belongs to one programme or effort — its surveys, enumerator assignments, responses, and M&E indicators — and it controls who can see that work.
- On Starter and Team, all your surveys live in a single default project, so the simple path stays flat — you may never need to think about projects at all.
- On Organisation and above, you can create multiple projects (for example, WASH Programme — Northern Region and Health Facility Monitoring), move a survey between them from its actions menu, and grant access per project.
Each project can have its own members — individual users or whole groups — so a programme's data is visible only to the people working on it. This is how you separate, say, a field team from a finance team while keeping everything in one workspace.
Inviting your team
From Team / Users, invite a teammate by email. They receive an invitation, set their password, and join your workspace.
- Invitations are tied to your plan's seat count (see Plan and seats below).
- A pending invitation can be resent or revoked before it's accepted.
- New members can be added to specific projects and groups so they see only what's relevant to them.
Roles and permissions
FlexiSurvey uses role-based access control: every member holds one or more roles, and each role grants a set of fine-grained permissions. You assign roles when inviting a member or later from their profile.
Workspace roles
| Role | Best for | Can do |
|---|---|---|
| Admin | Workspace owners | Everything — users, billing, settings, all surveys |
| Program Manager | Programme leads | Create and run surveys, projects, assignments, indicators |
| Data Analyst | M&E / research analysts | View and analyse results, build dashboards, export |
| Data Analyst (aggregated) | Analysts who shouldn't see raw PII | Analyse aggregated results only |
| Billing Manager | Finance | Manage the subscription, seats, and payment methods |
| User | General contributors | Work within the surveys and projects they're given |
| Viewer | Stakeholders | Read-only access |
There are also survey-level roles (Owner, Editor, Analyst, Viewer, Translator) you can grant per survey for collaboration, and specialist roles for field work (Enumerator), monitoring (M&E Officer), and case management (Account Manager) — covered in their own guides.
How permissions work
Permissions are additive and least-privilege: a member can do exactly what their roles allow, and nothing more. The navigation adapts to each person's permissions and plan, so people see only the areas they can use. If a teammate can't find a feature, it's usually because their role doesn't include it or it isn't on your plan.
Plan and seats
From Billing, you can see your current plan, usage, and seats, upgrade or downgrade, and manage payment.
| Plan | Price | Included seats | Highlights |
|---|---|---|---|
| Starter | $19/mo | 3 (hard cap) | 5 surveys, 1,000 responses/mo |
| Team | $49/mo | 10 (+$9/seat/mo) | Unlimited surveys, 10K responses/mo, API access |
| Organisation | $249/mo | 25 (+$12/seat/mo) | 50K responses/mo, projects, OUs, SSO, white-label, M&E, panels |
| Enterprise | from $499 / custom | unlimited / negotiated | Dedicated support, donor reports, on-prem — contact sales |
Seats
A seat is an active user in your workspace. Team and Organisation include a base number of seats and let you add more for a per-seat monthly fee, billed with proration. You can add or remove seats from the Billing area; you can't downgrade your seat count below the number of active users — remove a member first. Card payments, invoices, and cancellation are handled through the secure Stripe-hosted customer portal, reachable from Billing.
Security and compliance settings
As Tenant Admin you also control your workspace's security posture:
- Two-factor authentication (2FA) and password policy for your members.
- Single sign-on (SSO) and IP whitelisting (CIDR ranges) on Organisation and above.
- Audit logging of administrative and data actions.
- GDPR tools — data export, erasure, and records of processing.
Your data is encrypted in transit (TLS) and at rest (AWS-managed storage encryption), and isolated per workspace at both the application and database layers.
Troubleshooting
- An invitation wasn't received — check the recipient's spam folder, confirm the email address, and resend from the Users list.
- "No seats available" — you've reached your plan's seat count; add a seat from Billing or remove an inactive member.
- A teammate can't see a project or survey — add them as a project member, or check that their role includes the needed permission.
- Can't downgrade the plan or seat count — you're below the new limit on active users or usage; remove members or reduce usage first.
- A feature is missing from the menu — it may be plan-gated; the Billing page shows which plan unlocks it.